To configure any Content to display on the Login Portal, click on Login Visuals in the sidebar, then open the file you want to edit (double-click on it, or right-click -> Properties).

This will bring you to this page with all details

Configuration Card
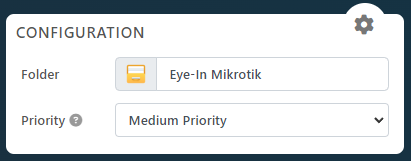
- The Folder is where you want to save your visual. Also affects which venues will see the visual.
- The Priority allows to change the order of the visual in the random sequence. Increase it when content are more importants.
Schedule Card
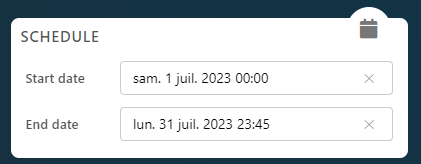
- The Start Date field allows to select a date and time, after which the content should start showing on the Wi-Fi Login Page.
- The End Date field (also called Expiration Date) allows to select a date and time, after which the content will stop showing on your Wi-Fi network.
Website Card
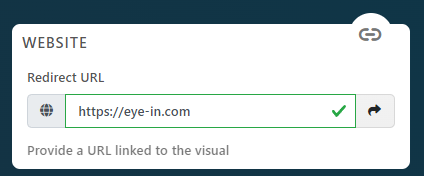
- The Redirect URL allows to change the URL to which the user will be redirected after logging into the Wi-Fi network. This allows you to change the URL to point to a page relevant to the content.
For example: if the content goal is to promote a contest, enter the link of the webpage to participate in the contest in the Redirect URL.
Publication Card
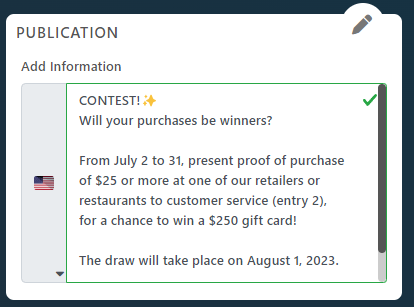
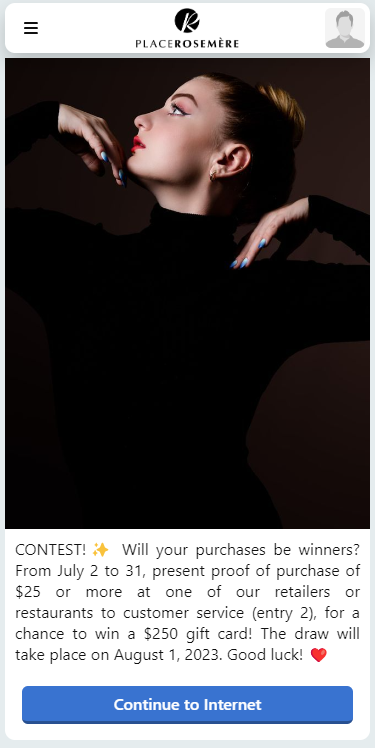
This box of text allows to add a bilingual description below the Visual like you would see on Social Media. You can publish the same content on the Wi-Fi Login Page than on Social Networks like Instagram.
This text cannot contain any link as at that time, the user won’t have internet yet.
Here is a preview of the end result on the Wi-Fi Network