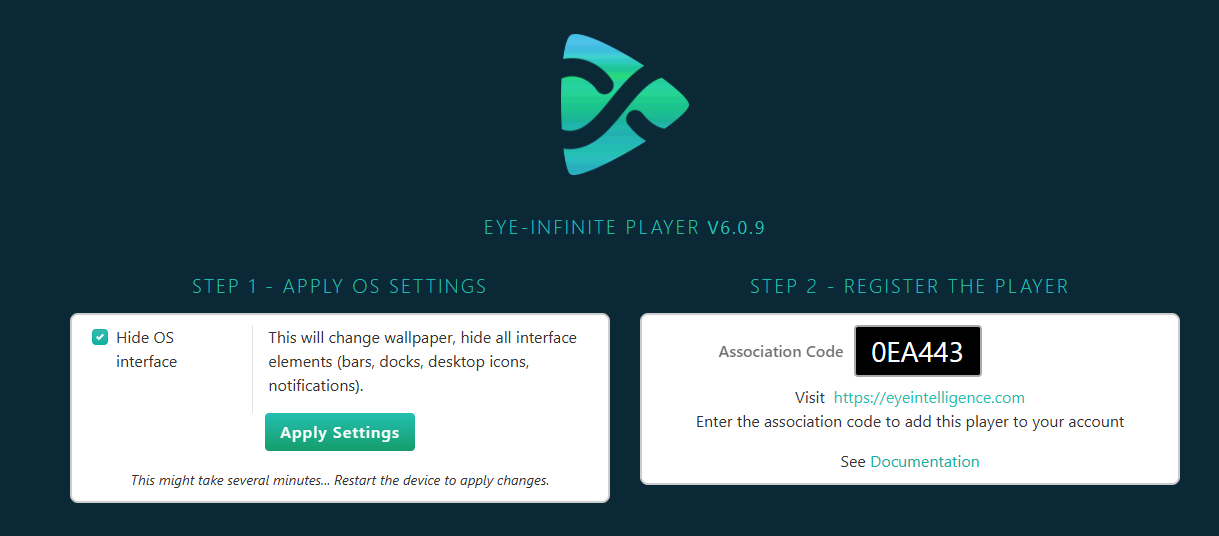
Before you can configure your diffuser you must add it to your inventory on Eye-Intelligence. This step occurs when you see a screen with a code like the one below.
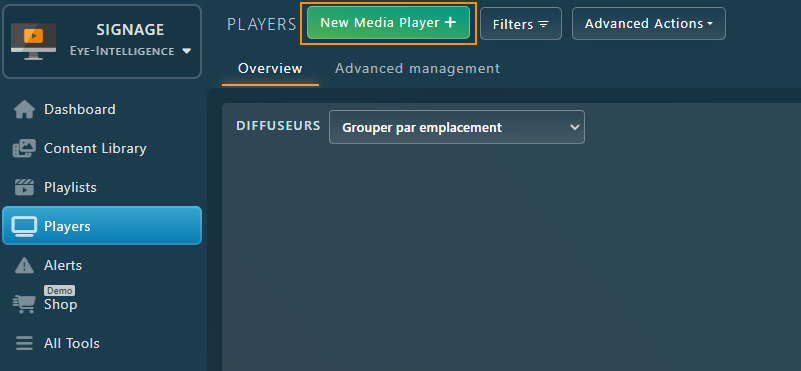
In Eye-Intelligence, open the Players tab and click the New Player button at the top.
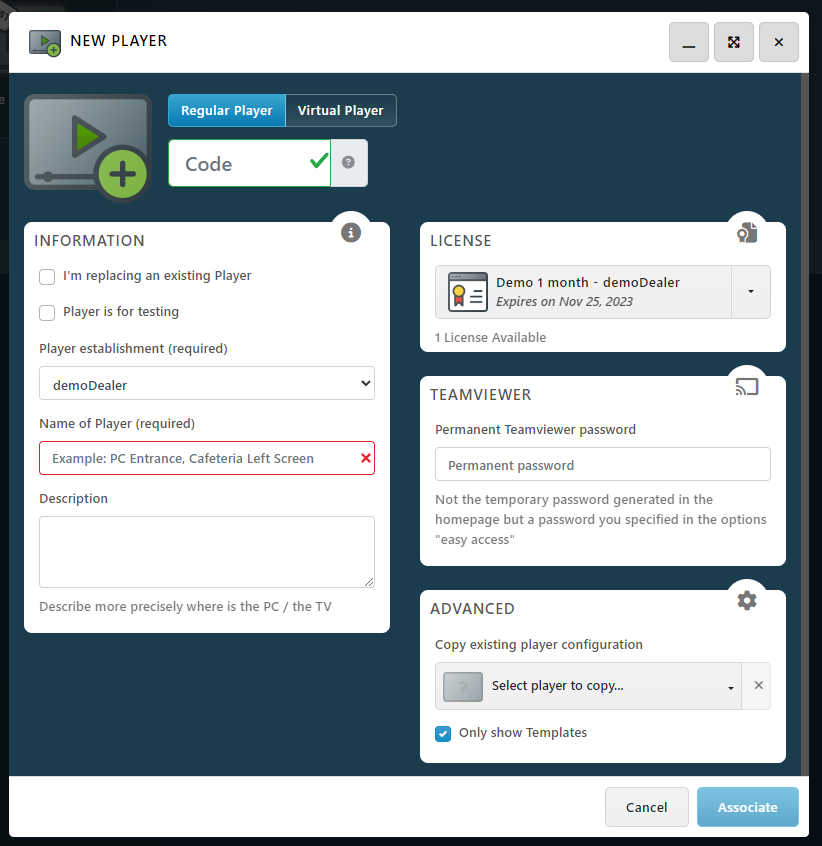
In the New Player window that appears, enter the following information:
- Keep the Regular Player option because this is a Physical Player.
- Code: This is the broadcaster code displayed on the screen.
- Player Establishment: If you have multiple locations, select which location this Player corresponds to.
- Name of Player: This is a name for internal use. Make sure it is easy to understand with standardized nomenclature. Most often, the name is composed of a unique identifier and a short description indicating where it is located and some technical specifics. Here are some examples: Screen 4 – Cafeteria menu or even Video wall E1 – 6 screens – Entrance or even Kiosk 2 – Touch – Portrait.
- Description: Provide more information about the installation to facilitate maintenance later. The description often contains the precise location of the machine (example: in the ceiling, behind the screen), details concerning the connections and hardware (example: remote control in the server room office) and any other relevant notes (example: temporarily moved to the 2nd floor)
- License: Select the license you wish to assign to this broadcaster. If you have different types of licenses, make sure you choose the right one (example: if you have a license for 6 screens, do not associate it with a broadcaster that only has one screen).
Once everything is set up correctly, click Associate to add the Player to your Inventory.
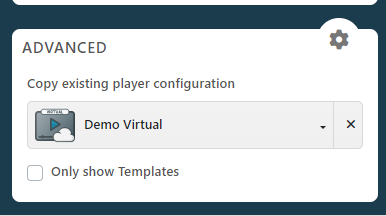
Copy existing configuration
You can also Copy the Configuration of an existing Player.
Note that by default, a filter is applied to only list Templates. Uncheck the box to be able to select any Player from the list.