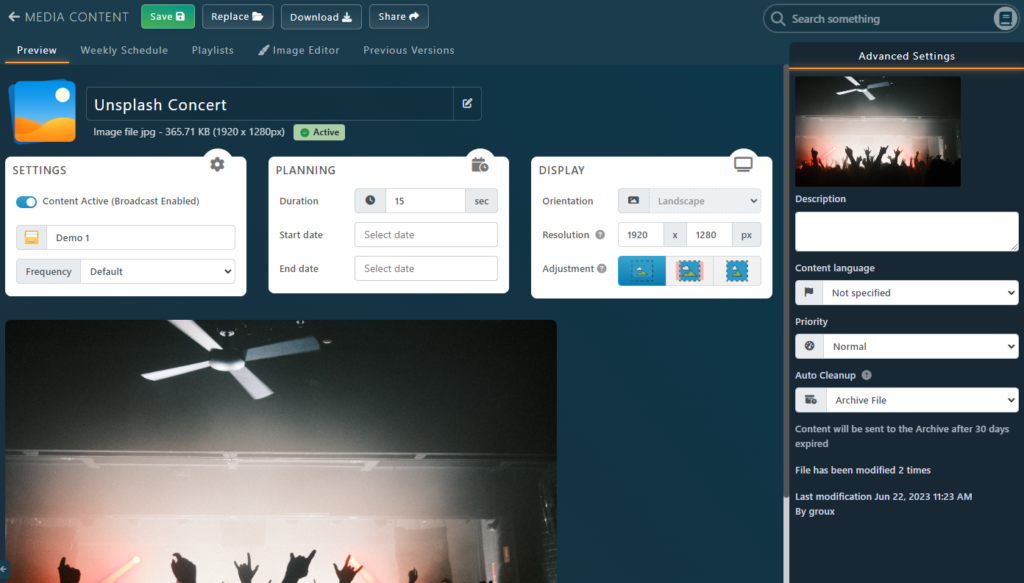
It is possible to preview and edit your content at any time by visiting the Content Library, proceeding on to My library, and double-clicking the content you want to modify.
Note: You can also configure your content directly during its creation.
The most important settings are immediately available in the 3 main Cards: Settings, Planning, and Display.
Settings Card
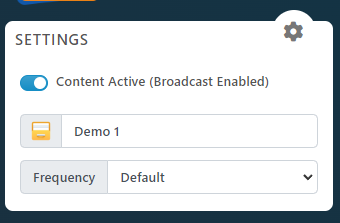
- The checkbox preceding Content active allows you to display or hide the content.
- The Folder in which the content is stored.
- The Frequency box gives you the option to choose how frequent you want your selected content to appear. By default, all the content appears at the same frequency in a random order.
Change the Folder
- Click on the Folder name or « Please select folder » to add your content to a folder in your content library
- Next, click the folder and click « Select this folder«
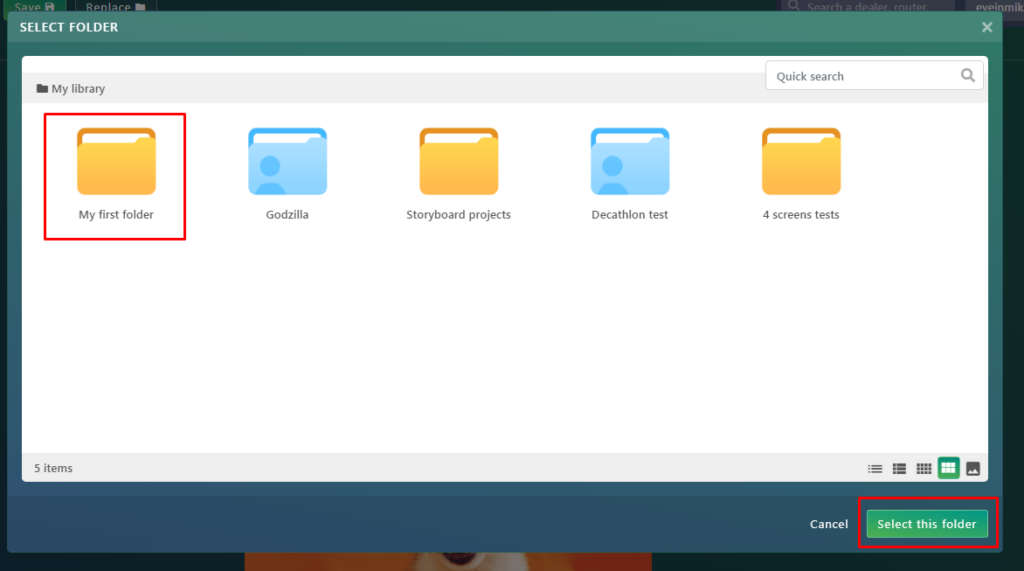
NOTE: Folders are used to organize your content, much like how you can organize your files in a folder on your desktop. Some Folders are linked to one or multiple playlist, which means adding a content inside will be sent to your screens automatically.
Planning Card
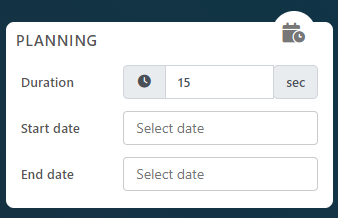
- The Duration box enables you to adjust the amount of time the content will be displayed.
- The Start Date field allows to select a date and time, after which the content should start displaying on the screens.
- The End Date field (also called Expiration Date) allows to select a date and time, after which the content will stop displaying on the screens.
Display Card
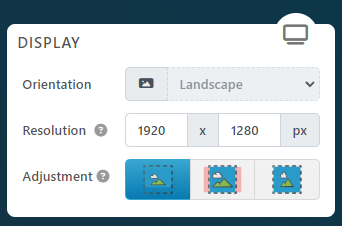
- The Orientation is for information only so you know immediately on which screen it should play.
- The Resolution is calculated automatically, you should not have to change these values.
- The Adjustment is a useful setting if you have specific needs for the content. To find more information about the Object Fit setting, see https://doc.eye-in.com/docs/eye-intelligence-en/digital-signage/content-library/content-size-and-adjustment/
Approbation Card

If a content is added by a user who needs Approbation for each content added, a special Card for Approbation will appear. It displays the current Approbation Status and provides actions if you have the permission to execute them.
For example, if a content Needs a review, an Admin will be able to Approve or Reject the file.

For more information about Approbation see the following document Approving the content
Advanced Settings
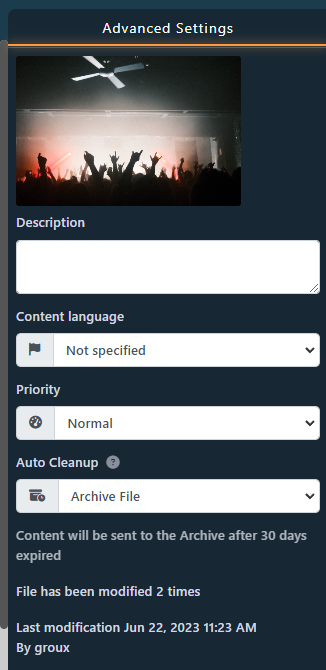
- In the box under Description, you can add a personalized description about the content.
- The Content Language setting allows to specify what is the language of the content and can be useful to filter if a PC should only display one particular language instead of all.
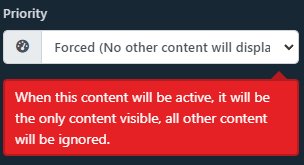
- The Priority field allows you to choose the level of priority accorded to the content. Choosing Forced as a priority will allow only the selected content to be displayed. Note that a warning will appear if you select the Forced priority.
- The Auto Cleanup is here to select the behavior to perform some clean up 30 days after the End Date. By default, the content will be archived, but it can be disabled, or you can even select to automatically delete the file instead because you know you won’t reuse this content.
Weekly Schedule
This section allows you to define which day and hours of the day the content should display.
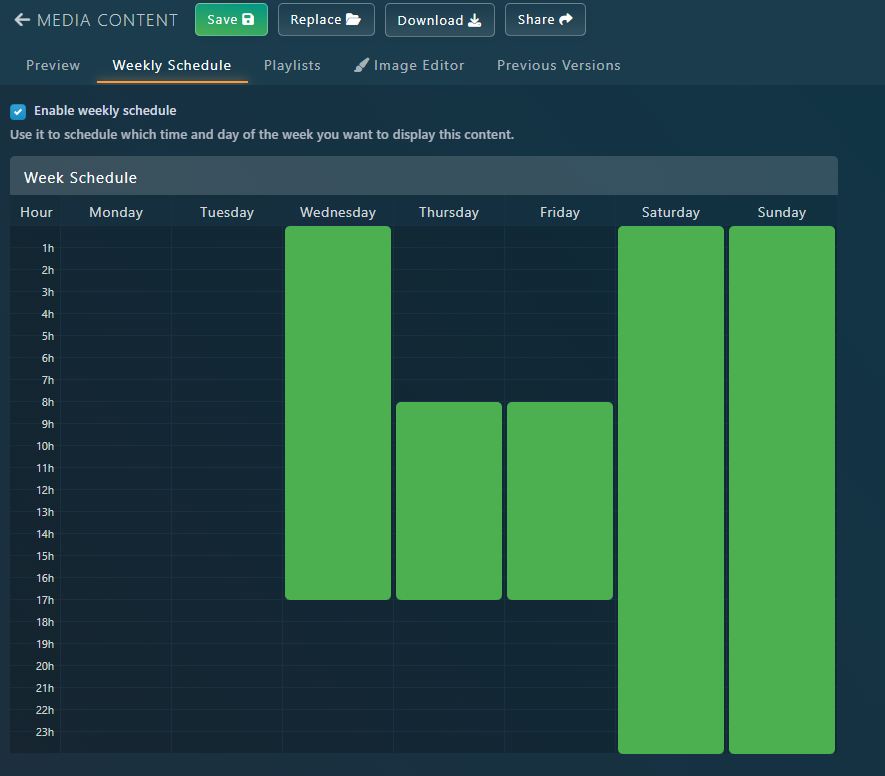
If the « Enable week agenda » box is checked, you can easily selected the dates by dragging the desired times along the calendar. While you are dragging, the boxes are green, but once you release the boxes that are dragged, they become green. The green boxes indicate the time in which the content will be broadcast.
- Left click on a day name or hour to fill the entire column or row.
- Right click on a day name or hour to empty the entire column or row.
Playlists
In this section, you can:
- See all the playlists in which your content will be displayed.
- Add your content to a playlist.
Image Editor
This feature is available for images only.
The image editor can be used to perform various operations such as adding filters, cropping, resizing, adding shapes and texts.
It is not meant to replace a dedicated Image Editing software but allows to fine tune or adjust an image for on screen display.
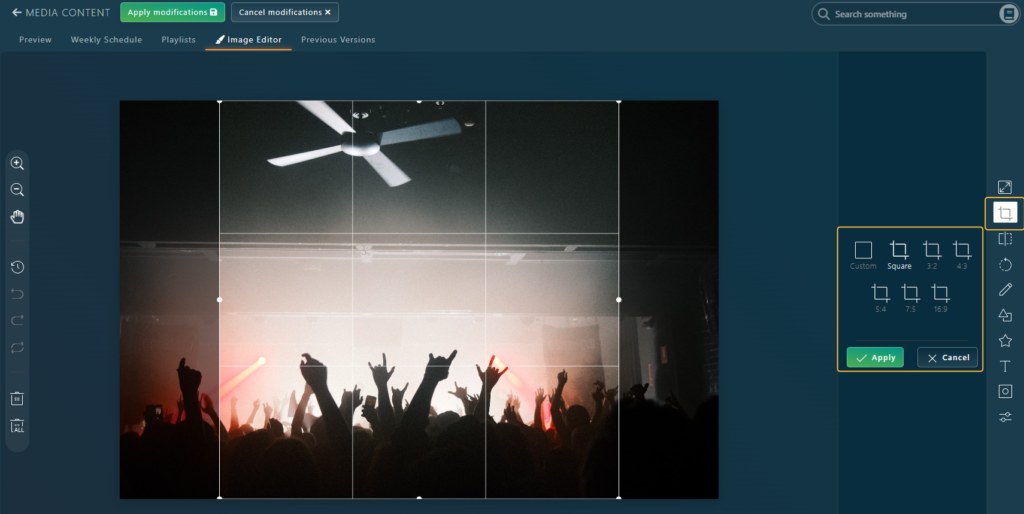
Click the green Apply button to apply and preview changes.
Click the green Apply modifications at the top to save and apply changes to the screens.
See the following section for more information about cropping https://doc.eye-in.com/docs/eye-intelligence-en/digital-signage/content-library/content-size-and-adjustment/
ATTENTION:
Once all the modifications are made, remember to click « Save » at the top of your screen.
