Before you begin, collect all the material you need to create your content. Once you are prepared to engage in the excitement of content creation, click on Content Library on your left menu. You can
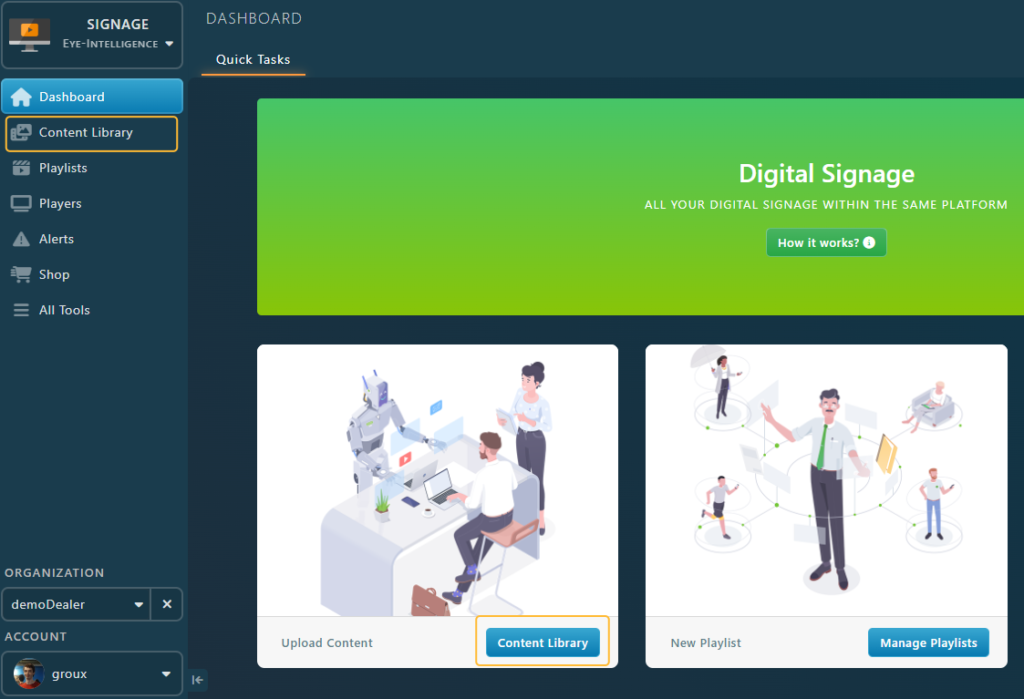
Alternatively, if you are already on the Dashboard page, you can click on the blue box to access your content library.
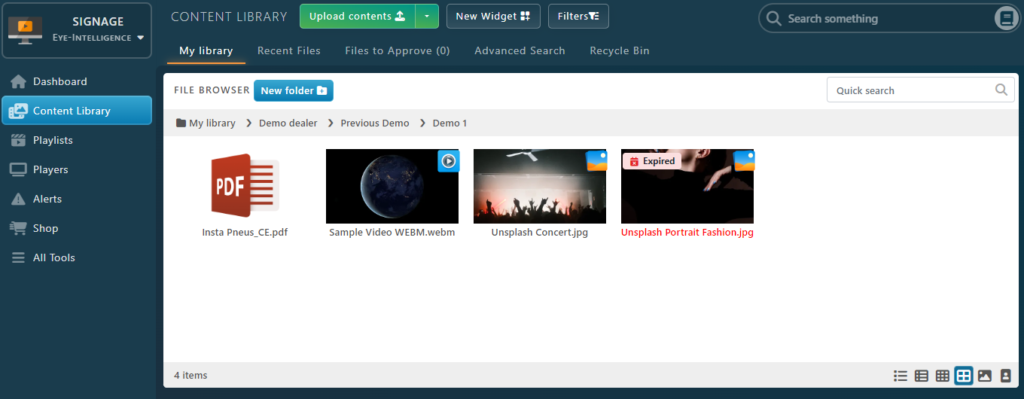
Next, it is time to upload your content! Click on the Upload Contents box at the top of the page. A search window will pop up.
NOTE! The file extensions supported are : jpg, png, svg, bmp, webp, gif, mp4, webm, ppt, pptx, doc, docx, xls, xlsx, eis and eil
If you need more information about Supported Files you can visit the following link https://doc.eye-in.com/docs/eye-intelligence-en/digital-signage/content-library/supported-file-types/
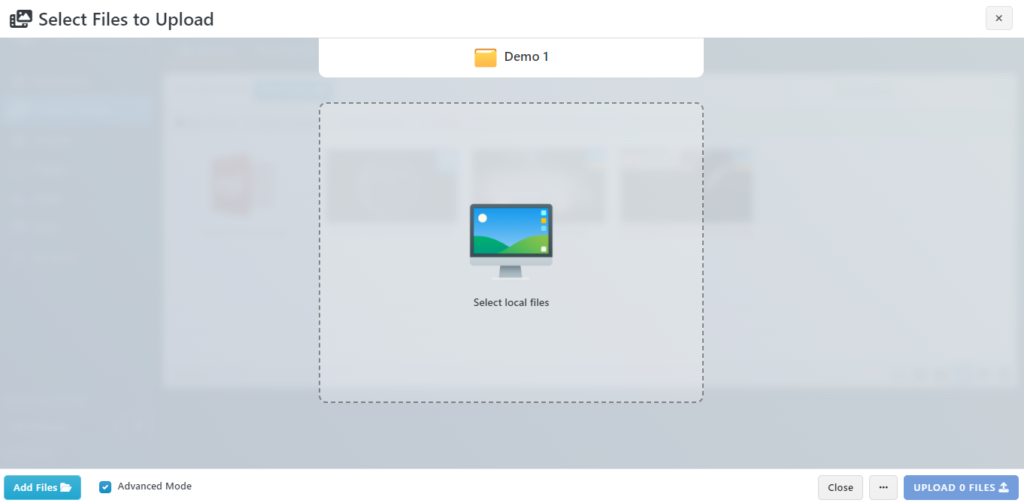
Click on the Select local Files button or drag and drop the files you want to upload. You can select multiple files by holding the Ctrl key and clicking on the file.
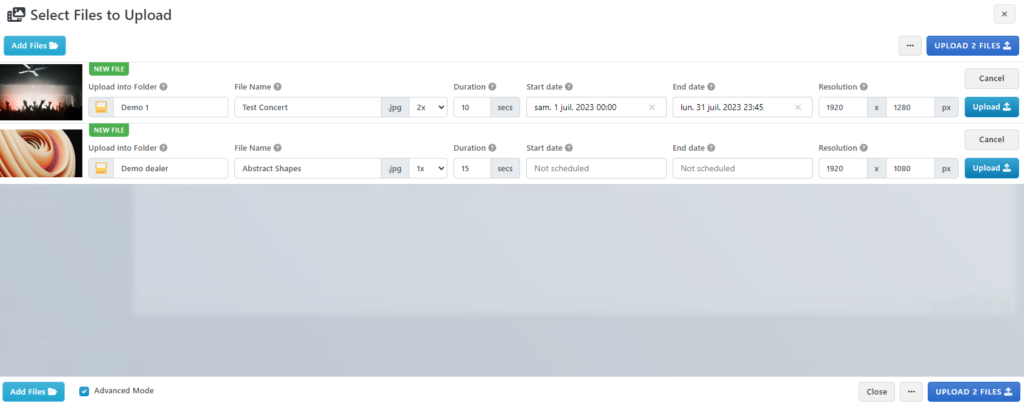
From left to right, each file offers multiple common properties that you can configure right away:
- The Folder in which you want to upload the file. If you select a folder that is used in a Playlist, the content will be sent immediately to the screen after being uploaded.
- The Name of the file, make sure it’s easy to read and short. You can put special characters and spaces.
- The Frequency (indicated with an x).
- The duration in seconds (15 seconds per default). The duration is automatically detected for videos.
- The Start Date that can be used to schedule a file to display in the future.
- The End Date that can be used to schedule when this file will not be needed anymore on the screens.
When you are ready simply click on the blue Upload x Files button to send all your files.