Brief Overview
In this section, we will cover how to:
- Start a conversation
- Use the Assistant tool to:
- View suggested answers
- Effectuate a search for specific keywords in the Frequently-Asked Questions (FAQ) list
- Use the Q&R tool to view all questions and answers
- View the Agent List
- Manually type a response
- Get help if you have questions on how to use the chat interface
Start of the Conversation
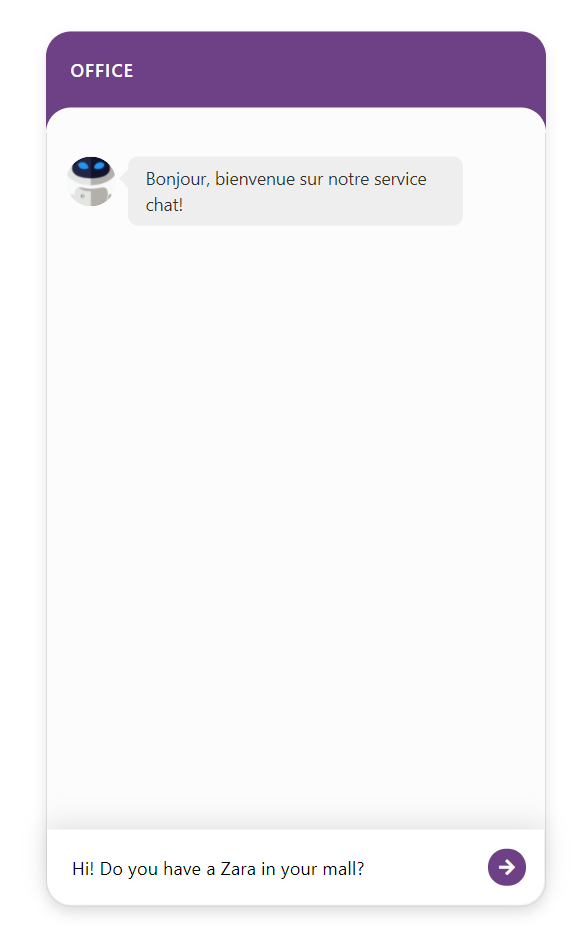
Let’s say a client sends you their first question, initiating the start of a conversation:
Once the client sends a message, a notification will pop up on your computer to indicate that a message has been received:
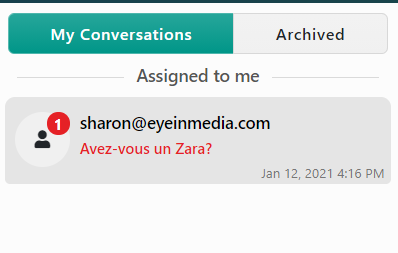
If you click on the notification, it will take you to the tab that corresponds to the conversation, in the « My Conversations » panel of the interface.
Notice that it appears under the label « Assigned to me » and has a grey background to show that you are responsible to follow-up with this conversation.
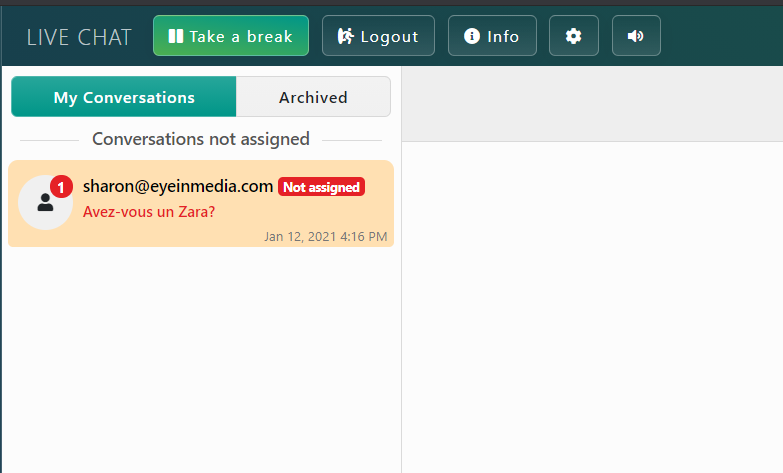
If you do not click on the notification, the question will also be present in the « My Conversations » panel of the interface, under « Conversations not assigned ». Its background will be yellow to indicate that the question has not been answered by an agent yet.
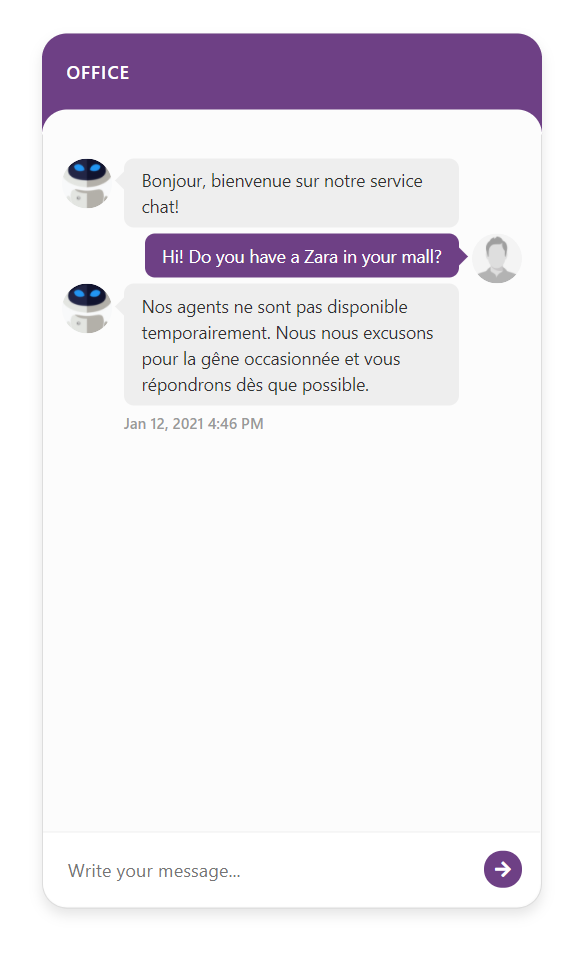
In the conversations window, the blue message bubbles correspond to the agent’s messages, while the grey message bubbles correspond to the client’s messages.

Assistant
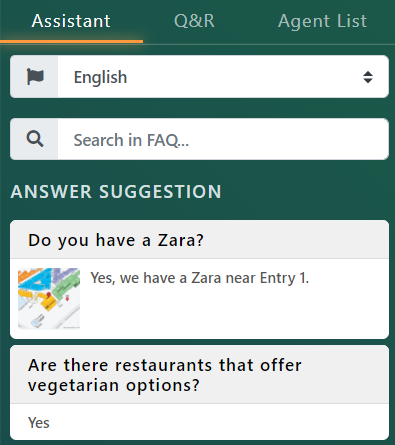
Using the Answer Suggestion
On the right side of the interface, under Assistant, a system suggests answers to the clients’ questions. If you click on one of the suggestion boxes, both the suggested answer and an associated image will be filled out in the responses section. Follow these 3 steps:


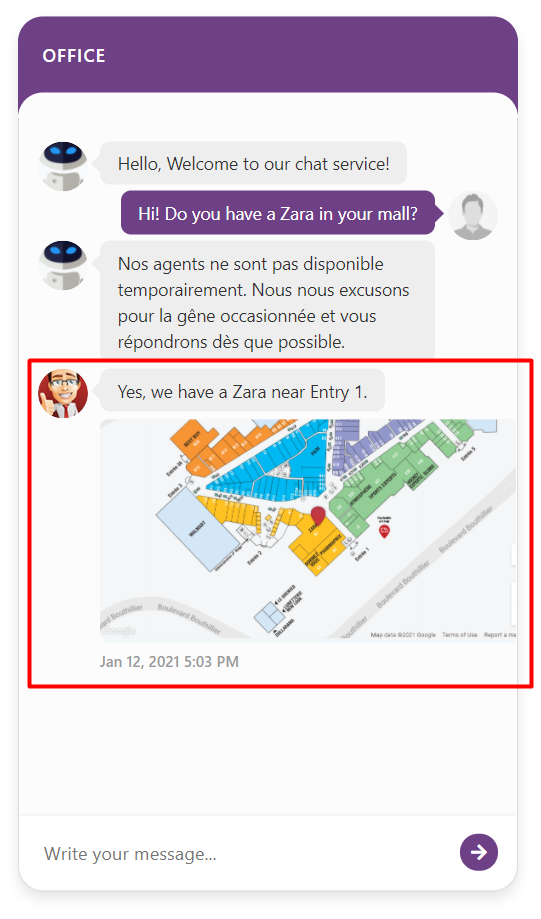
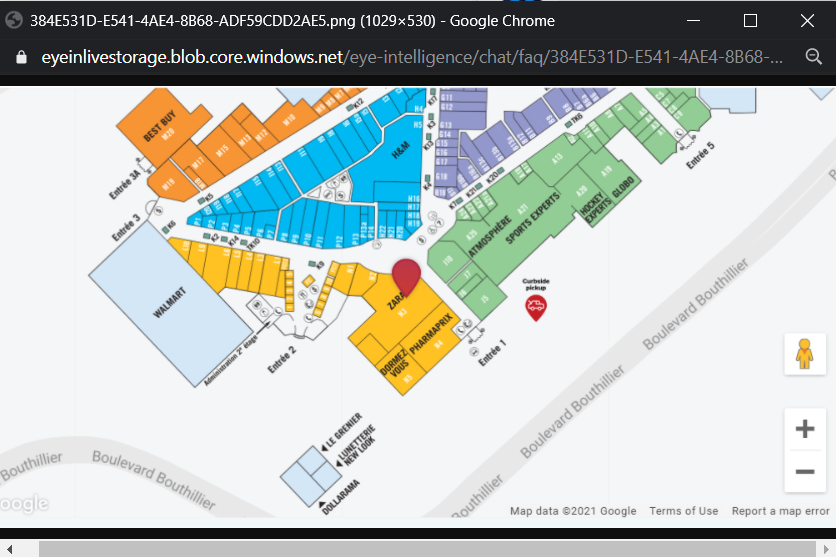
The client will receive the answer on their device and can click on the image to enlarge it.
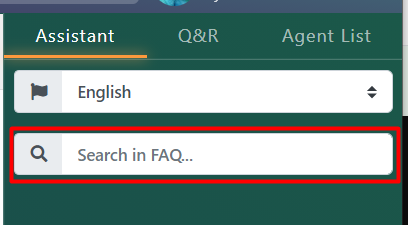
Doing a search using the Frequently Asked Questions (FAQ)
Alternatively, if the suggestion box does not provide you with the answer you are looking for, you can do a specific search using the search bar under « Assistant »:
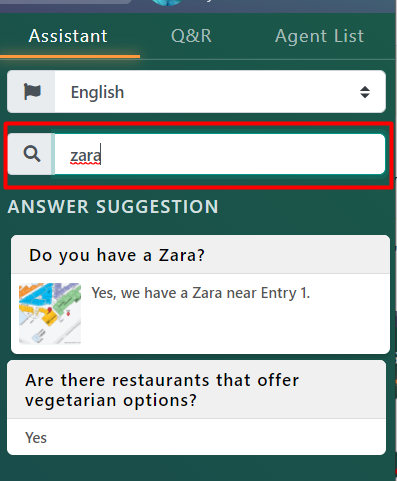
In the example below, « zara » was typed in the search bar and some answer suggestions appeared below.
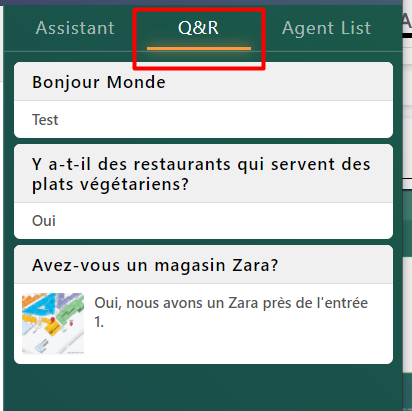
Using Q&R to view all questions and answers
Q&R provides you with a list of all the questions and answers that have been inputted into the system.
Agent List
The Agent List shows if there are other agents presently online that are using the chat interface.
If the agent is online, there will be a green bubble next to the agent’s picture and a message that says « Connected » underneath the agent’s name.
Otherwise, if the agent is offline, there will be a red bubble and a message that says « Not connected ».

Manually typing a response
If ever you cannot find an appropriate answer using the Assistant or Q&R tools mentioned above, you can manually answer the clients’ questions using the response bubble at the bottom of the interface:

First, type in a message in the message box:

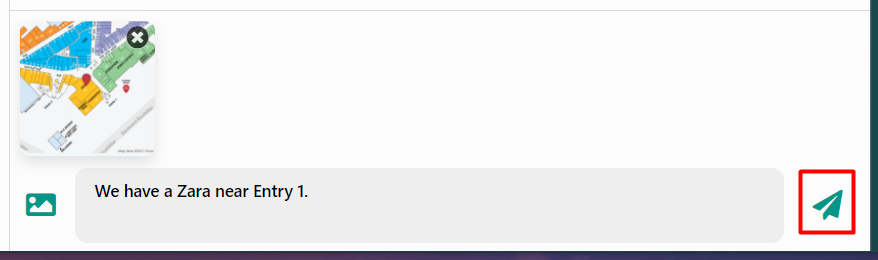
You can insert an image if needed by clicking on the image icon:

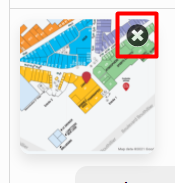
After selecting an image, you will see the image over the message bubble:

If you decide to remove this image before sending, click on the « x » at the top right corner of the image:
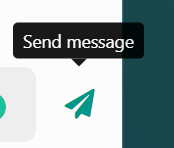
Finally, click the « Send » icon! It’s as simple as that!
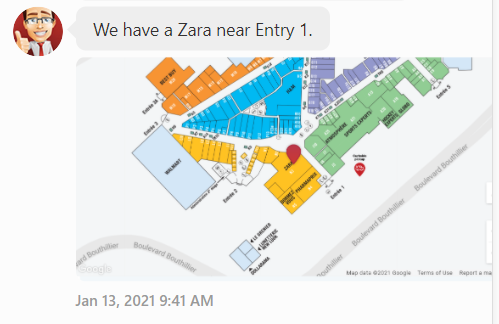
This is what the client will see on their chat:
Need help? Ask Alfred!
Alfred, our handy assistant, is there to help you if you have trouble navigating the interface, or need help with a specific question.
You can find him on the bottom right corner of the interface, under « Assistant ».

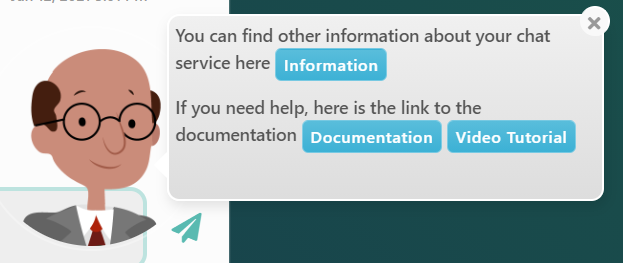
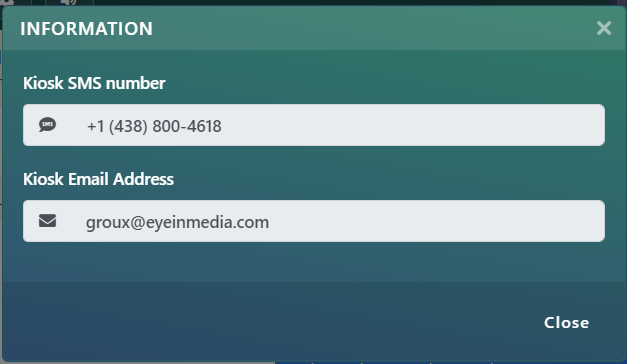
If you click on Information, you can find the telephone number and email address that will allow your clients to join you at the kiosk.
Alfred can also direct you towards the online documentation and video tutorial:
