Settings apply to all slides that make up your project. It is therefore easy to choose the options that are applied to a single slide in one click.
Background: Clicking on the square allows you to choose a solid color.
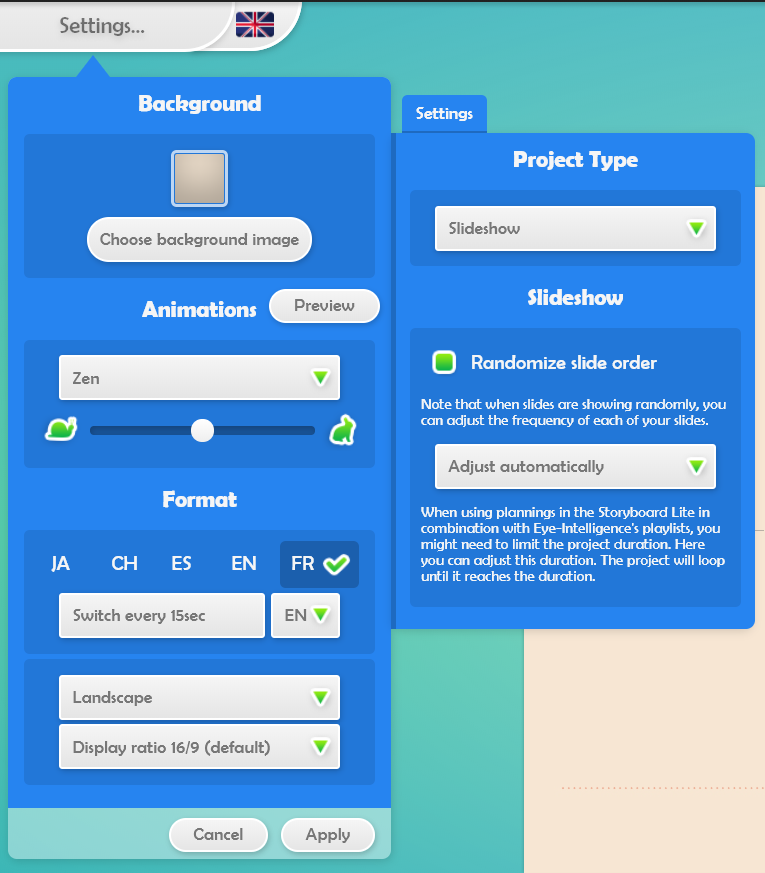
Choose background image allows you to access the Media library of images or to import an image from your own folders.
Animations: Click on Preview to see the transition that will be applied to the content you have already created. Just select the drop-down menu to view the different possible effects and use the slider to choose the speed of the animations.
Format: Option to select the language for your Widgets (date, hour, temperature…)
The first drop-down menu allows you to choose the orientation of the slides. The orientation of the slides depends on the content delivery devices you have. If you have horizontal display screens, use Landscape mode, if you broadcast to vertical display devices, use Portrait mode.
The second drop-down menu offers predefined formats depending on the streaming device. By default, use the ‘Format 16: 9’. If your devices display a banner, use the ‘Content with Banner at Bottom’ format to prevent your content from being hidden by the banner when serving.
« Custom ratio » allows you to have a work surface that represents the layout of your screens if they are installed side by side. It is best to use the guides when working with multiple screens on the workspace.
If you are preparing content for a login page for Wi-Fi, use the “Login Page” format.
Slideshow: The « Randomize slide order » option allows you to create separate slides that do not need to be played one after another. This way of doing things makes it possible to create several varied contents and to let the software make the choice of reading randomly. By checking this option, you will have new parameters that will appear in your menu.
If you want the slides in your project to appear in a specific order, it is important that you do not select this choice and place all of your slides in the order you want.
Project duration: The total duration of the project is a very specific and unusual tool to use. This tool allows you to force a maximum duration to the project. Considering the schedules programmed in the project and the contents already present in the Management playlist, you may have to manage the duration of the project. By adding a duration, the project will play in a loop until it reaches the total time.
Once you have made your changes, click Apply to save everything.