After enabling the Digital Menuboard, you will see a new bubble at the bottom of the screen to insert Menu Items.

When you click on the Insert Menu Item bubble, it will bring a new window on the left.
You can click on the tabs to select the item category.
Click on any Menu Item to add it to the screen. When you select a Menu Item, you will see it’s properties on the right panel.
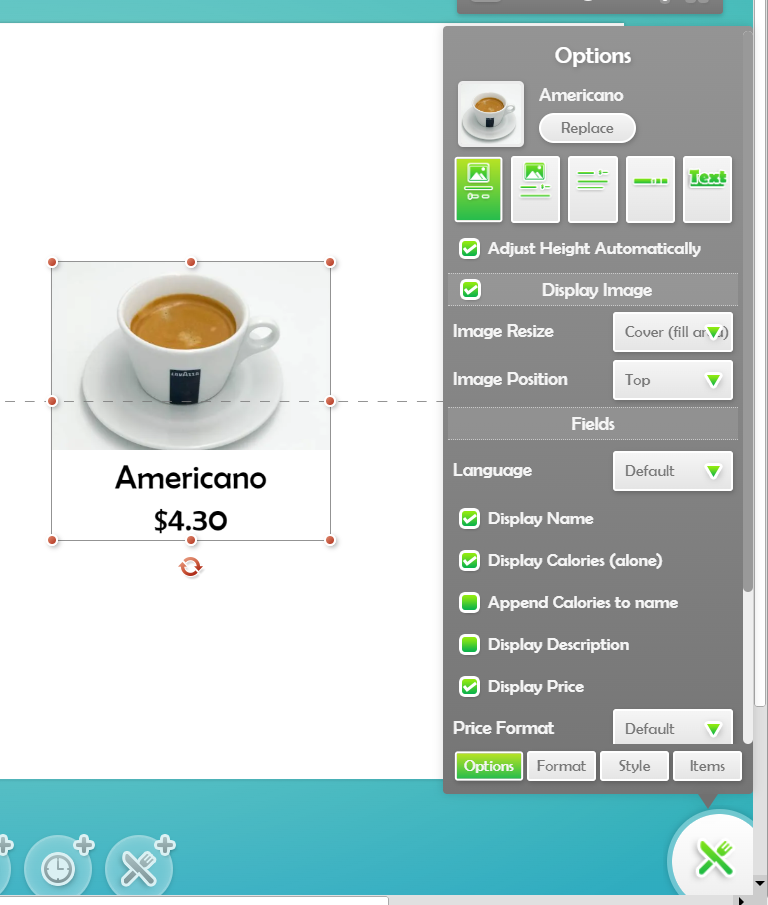
Main Options
- Replace You can replace any menu item by the same type of item. Meaning that you can replace any item by an item, any modifier by a modifier, any combo by a combo.
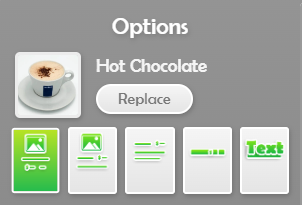
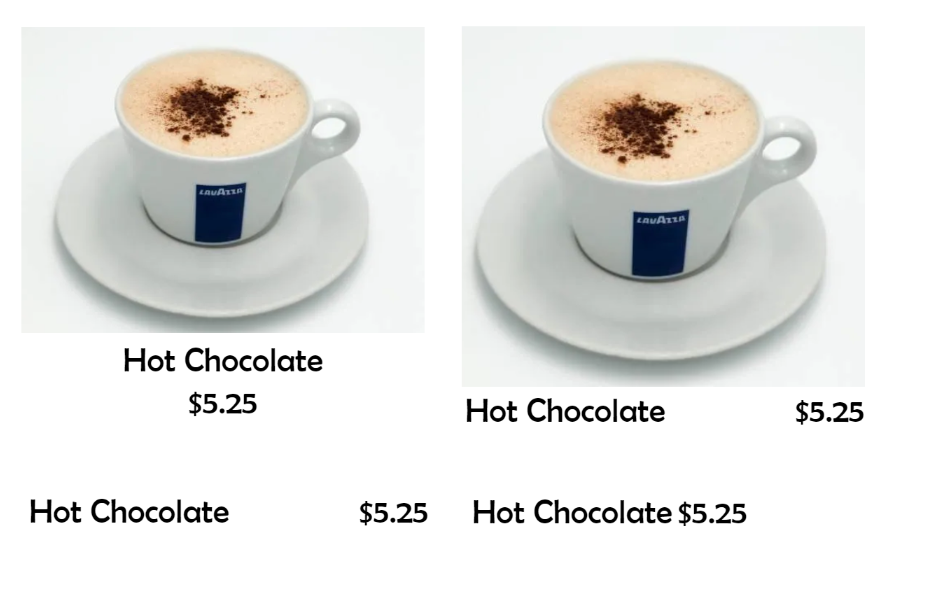
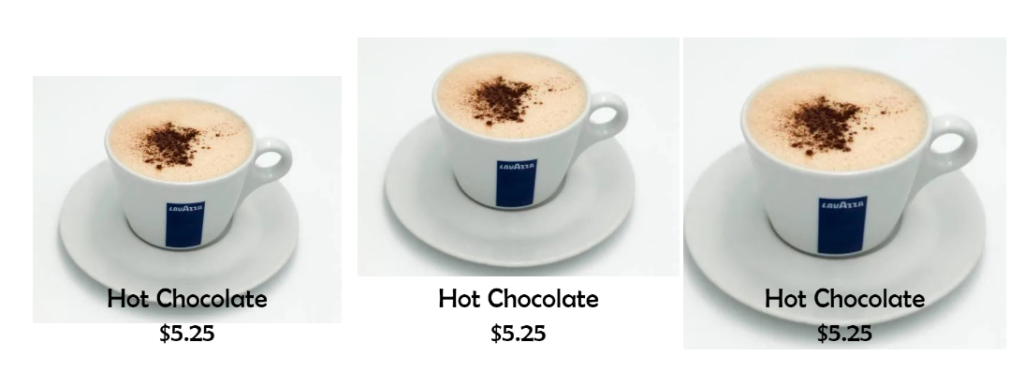
- The Predefined layouts appears as buttons with a small preview. Here are a few examples of the same item with the predefined items.
Image
You can configure if you want the item image to appear and how to display the image.
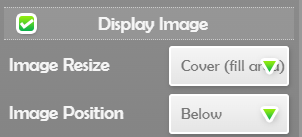
- Image Resize, allows to select how the image should appear. Typically do you want to fill the zone or stretch within…
- Image Position, allows to select where to put the image. At the top, at the bottom, or behind the text.
Fields
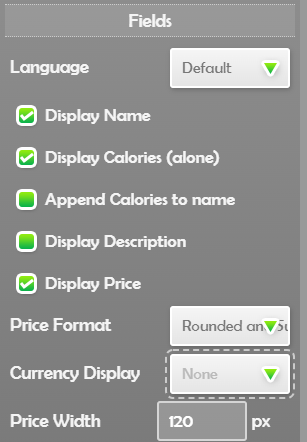
Here are the various options to customize which fields to display and how to display them.
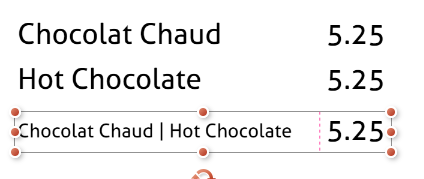
- Language if your Menuboard is bilingual, you can select which language you want to display or even both at the same time.
- Display Fields are to show or hide the field.
- Append Calories to name will append the Calories to the name instead as to it’s dedicated location.
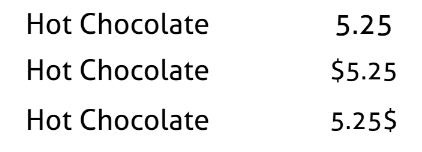
- Price Format is used to change the way the cents are showing.

- Currency Display is where to show the currency Unit
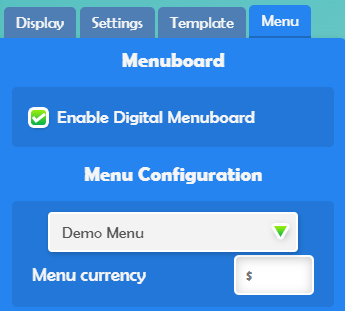
Note that you can customize the currency to display in the main Project Settings
To learn more about Styling Menu Items, please read the next article Menu Item Styling